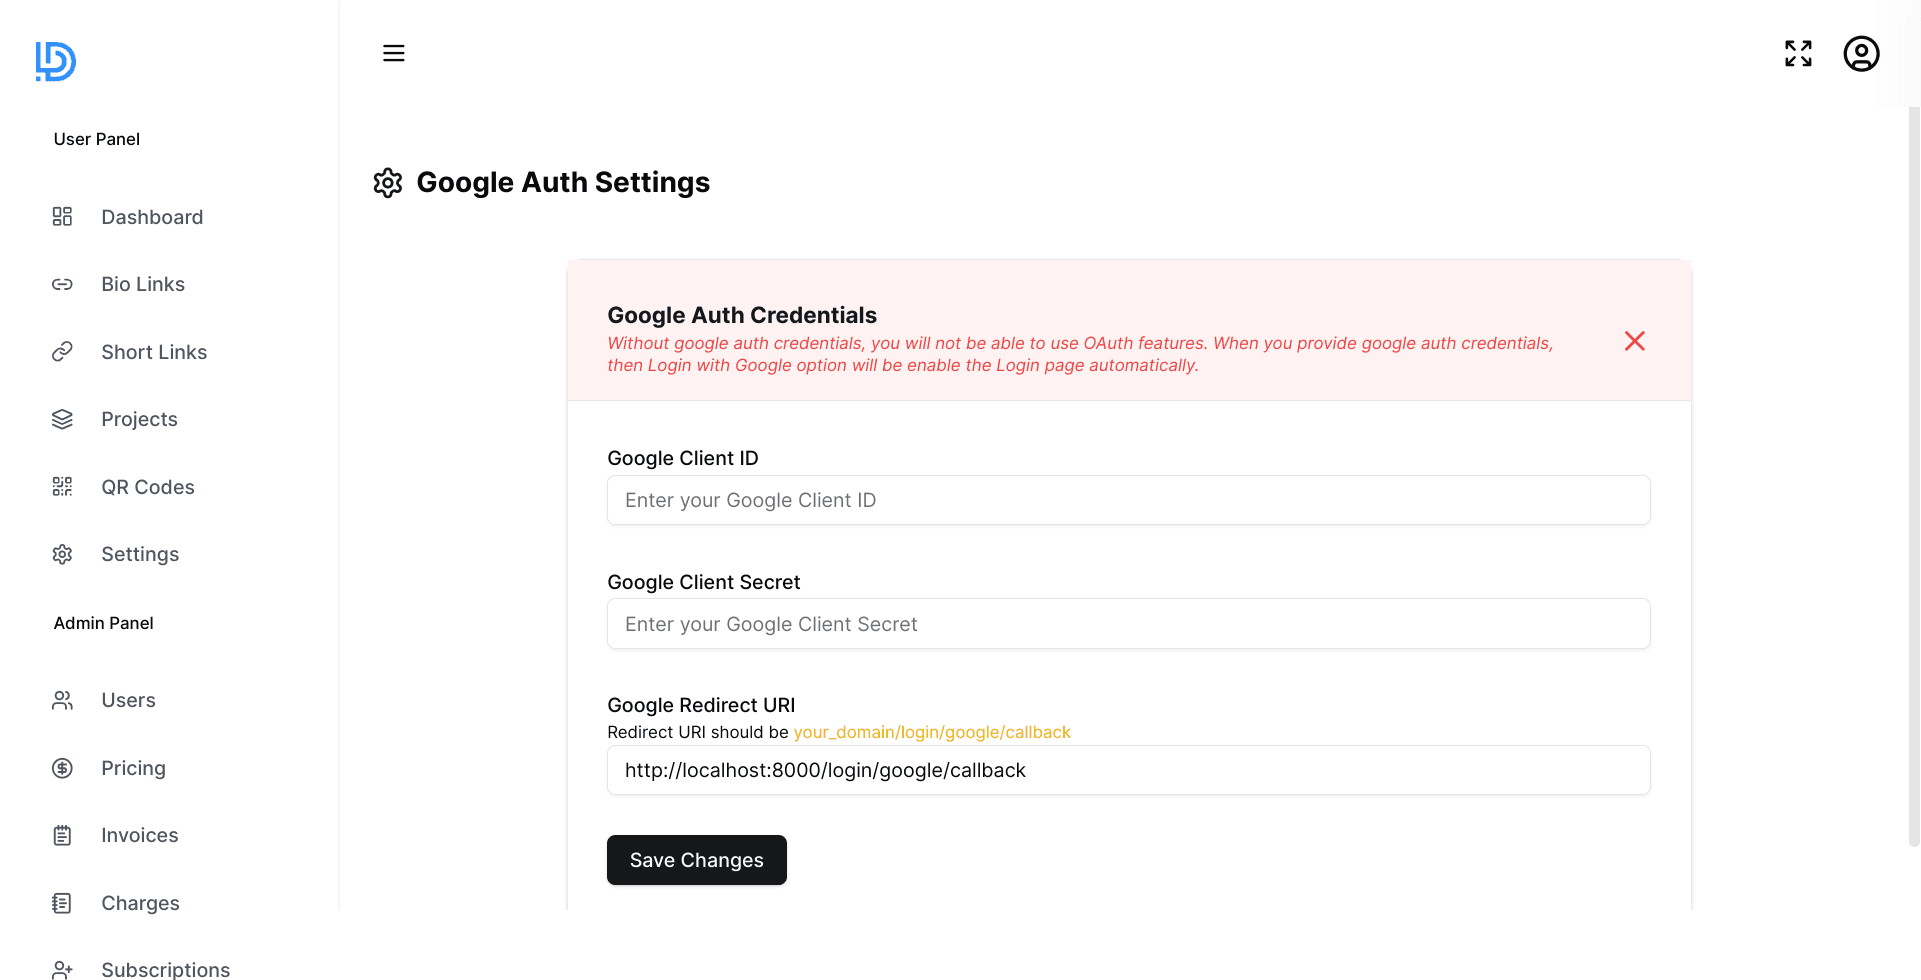
Overview
Enable Google Sign-In to allow users to authenticate using their Google accounts. This feature provides a seamless and secure login experience while reducing the friction of user registration. Once configured, users can sign in with just a few clicks using their existing Google accounts.
Benefits of Google Authentication
- One-Click Sign In: Users can login instantly with their Google account
- Enhanced Security: Leverage Google's robust security infrastructure
- User Trust: Familiar authentication method users already know and trust
- Reduced Friction: No need for users to remember another password
Required Credentials
You'll need three key pieces of information:
- Client ID: Your application's identifier
- Client Secret: Your application's secret key
- Redirect URL: Where users are sent after authentication

Credentials Setup
To create Google credentials for OAuth, you'll need to follow these steps:
Go to the Google Cloud Console (https://console.cloud.google.com/ (opens in a new tab)) and create a new project by clicking on the project dropdown on the top left corner and then clicking on "New Project".
Once your project is created, go to the "APIs & Services" section from the left-hand menu and click on "Credentials".
On the Credentials page, click on "Create Credentials" and select "OAuth client ID".
Select the application type as "Web Application" or "Other non-interactive" depending on the use case.
Enter a name for your OAuth client ID and enter the authorized redirect URIs for your application. The redirect URIs are the URLs to which Google will redirect users after they grant/deny access to your application.
Once you've entered all the required information, click on "Create".
You should now see your newly created OAuth client ID. You can view the client ID and secret by clicking on the "Edit" button next to the client ID.
- Give your project a name and click on "Create".
That's it! You now have a Google credential for OAuth that you can use to authenticate users and access Google APIs.