Overview
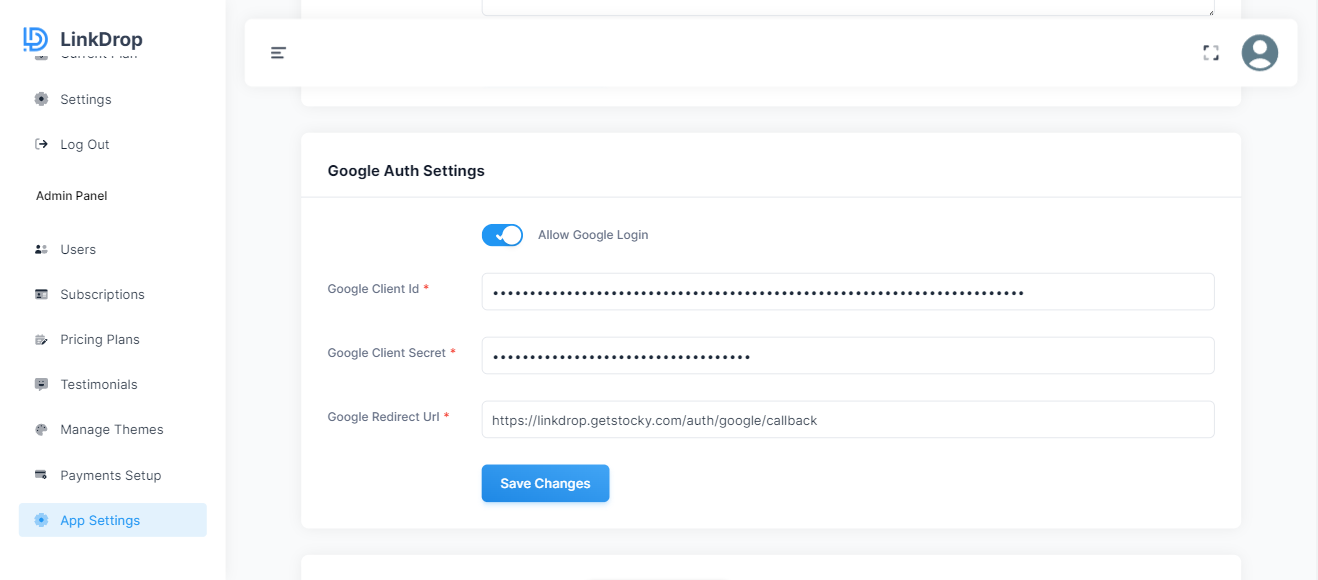
In the application's authentication settings, you will find a options for signing up with Google. From this section, you can activate or deactivate this sign-up systems according to your preferences. If you decide to activate them, you will need to provide certain details such as client Id, client secret, and redirect URL. These details are essential for setting up authentication with this platforms, and you must ensure that they are provided accurately. Once you have provided this details, your users will be able to sign up and log in to your application using their Google accounts. This can help to streamline the authentication process and provide a convenient sign-up option for users who prefer to use their google accounts.
Credentials Setup
To create Google credentials for OAuth, you'll need to follow these steps:
Go to the Google Cloud Console (https://console.cloud.google.com/ (opens in a new tab)) and create a new project by clicking on the project dropdown on the top left corner and then clicking on "New Project".
Once your project is created, go to the "APIs & Services" section from the left-hand menu and click on "Credentials".
On the Credentials page, click on "Create Credentials" and select "OAuth client ID".
Select the application type as "Web Application" or "Other non-interactive" depending on the use case.
Enter a name for your OAuth client ID and enter the authorized redirect URIs for your application. The redirect URIs are the URLs to which Google will redirect users after they grant/deny access to your application.
Once you've entered all the required information, click on "Create".
You should now see your newly created OAuth client ID. You can view the client ID and secret by clicking on the "Edit" button next to the client ID.
- Give your project a name and click on "Create".
That's it! You now have a Google credential for OAuth that you can use to authenticate users and access Google APIs.